Pear Tart with Chocolate Cream in Ninja Crispi Pro
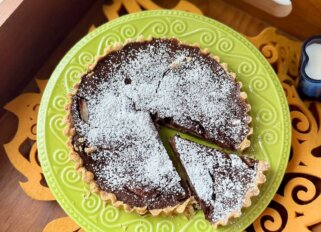
Pear Tart with Chocolate Cream
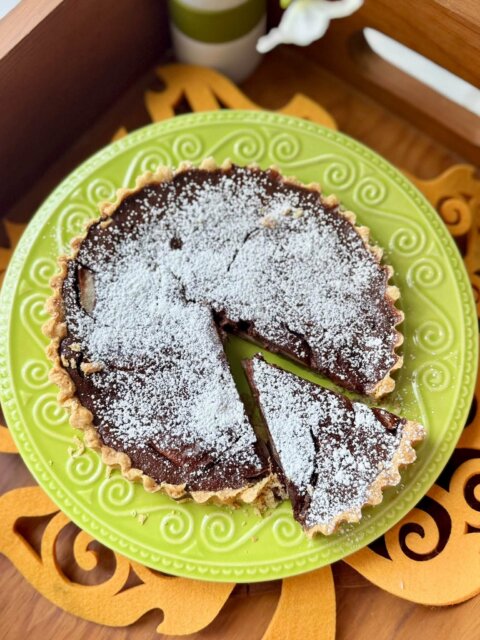
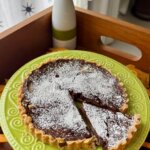
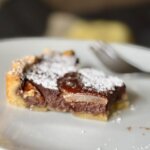
A delicate, buttery pear tart with a rich chocolate custard filling and a crisp shortcrust pastry. The combination of sweet pears and chocolate makes this an elegant dessert for any occasion.
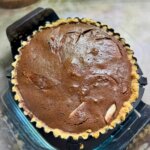
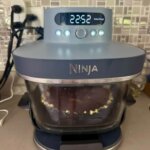
A Family Favorite: I’ve made this pear and chocolate tart many times over the years, as it’s one of my husband’s favorite desserts. I usually bake it in a conventional oven, but this time I decided to try making it in my Ninja. It turned out beautifully, and I’m happy to say that this method worked just as well!
Note: I usually make this chocolate filling with heavy cream, but I didn’t have any on hand this time. Instead, I used sour cream mixed with a little milk. It worked beautifully and gave the filling a lovely creamy texture
Yield: 6 -8 servings
Pan size: 19 cm (7.5 inches)
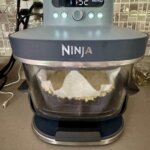
Appliance: Ninja Crispi Pro
Cooking mode: Bake
Ingredients
For the Shortcrust Pastry
* 100 g all-purpose flour
* 90 g cold unsalted butter, cubed
* 2 tsp sugar
* A pinch of salt
* 2–2½ tbsp ice-cold water
For the Chocolate Cream Filling
* 90 g sugar
* 30 ml water
* 120 ml heavy whipping cream or 100 g sour cream (preferably 20% fat), 20 ml milk and 1 tbsp cornstarch
* 18 g unsweetened cocoa powder
* 1 large egg
For the Topping
* 1 big ripe but firm pears
* Powdered sugar, for dusting
Instructions
1. Prepare the Pastry
1. Place the flour, sugar, and salt in a food processor. Mix briefly.
2. Add the cold butter and pulse until the mixture resembles fine breadcrumbs.
3. Add the ice-cold water gradually and pulse until the dough starts coming together.
4. Wrap the dough in plastic wrap and refrigerate for 1 hour.
2. Prepare the Chocolate Filling
1. In a small saucepan, heat the sugar and water over medium-high heat until the sugar dissolves.
2. Reduce the heat and gradually add the cocoa powder, stirring constantly.
3. Remove from the heat and let the mixture cool slightly.
4. In a separate bowl, whisk together the sour cream, milk and cornstarch until smooth.
5. Gradually combine with the chocolate mixture.
6. Allow the filling to cool until lukewarm, then quickly whisk in the egg until smooth.
If you are using the heavy whipping cream: Heat the water with sugar on high heat until the sugar is dissolved. Reduce the heat and add in the heavy whipping cream, continuously stirring, and cook for about 6-8 minutes. Add the chocolate and cook for 2 minutes on low heat. Remove from the stove and allow to cool. Add the eggs and stir quickly.
3. Pre-Bake the Pastry in Ninja
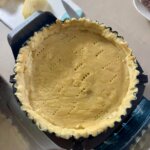
1. Roll out the chilled dough and transfer it to a 19 cm tart pan.
2. Press the dough gently into the bottom and sides of the pan.
3. Prick the bottom with a fork.
4. Cover with parchment paper and add baking weights or dried beans, rice.
Ninja Crispi Pro – Bake mode:
* Temperature: 170°C (340°F)
* Bake for 12–15 minutes with weights.
* Remove the parchment paper and weights and bake for another 4 minutes.
Remove the tart shell and let it cool slightly.
4. Assemble and Bake
1. Peel the pears and slice them thinly.
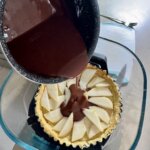
2. Arrange the pear slices over the pre-baked pastry.
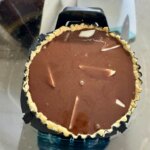
3. Pour the chocolate filling evenly over the pears.
Ninja Crispi Pro – Bake mode:
* Temperature: 150–160C (300–320°F)
* Bake for approximately 30–35 minutes, mine was ready in 25 min 160C.
The chocolate filling should be set around the edges but may still have a slight wobble in the center.
5. Cool and Serve
1. Remove the tart from the Ninja and let it cool completely.
2. You can refrigerate for 1–2 hours to allow the chocolate filling to set.
3. Dust with powdered sugar before serving
One important baking note: Since Ninja has top heating, check the tart after 20–25 minutes. If the surface starts browning too quickly, loosely cover it with foil.
And I would definitely serve this tart room temperature rather than warm or cold — the chocolate filling will have a much nicer texture. Next day you can warm it slightly in your microwave.
More recipes for Ninja Crispi Pro